Amazon Certificate Manager

Amazon Certificate Manager
AWS Certificate Manager is an Amazon Web Services tool that allows an IT team to provision, manage and deploy free Secure Sockets Layer (SSL) and Transport Security Layer (TSL) certifications in the AWS cloud.
ACM is integrated with the following services:
Elastic Load Balancing
Amazon CloudFront – To use an ACM certificate with CloudFront, you must request or import the certificate in the US East (N. Virginia) region.
AWS Elastic Beanstalk
Amazon API Gateway
AWS CloudFormation
Types of Certificates For Use With ACM
Public certificates
ACM manages the renewal and deployment of public certificates used with ACM-integrated services.
You cannot install public ACM certificates directly on your website or application, only for integrated services.
Private certificates
- This is intranet certificate .so you can only use this with-in aws infra or hybrid cloud.
Imported certificates
- You can import your own certificate that are already purchsed from other vendors.
Ok Now I am going to explain how to Create the certificate in AWS ACM.
- Open AWS Certificate Manager in AWS Console.
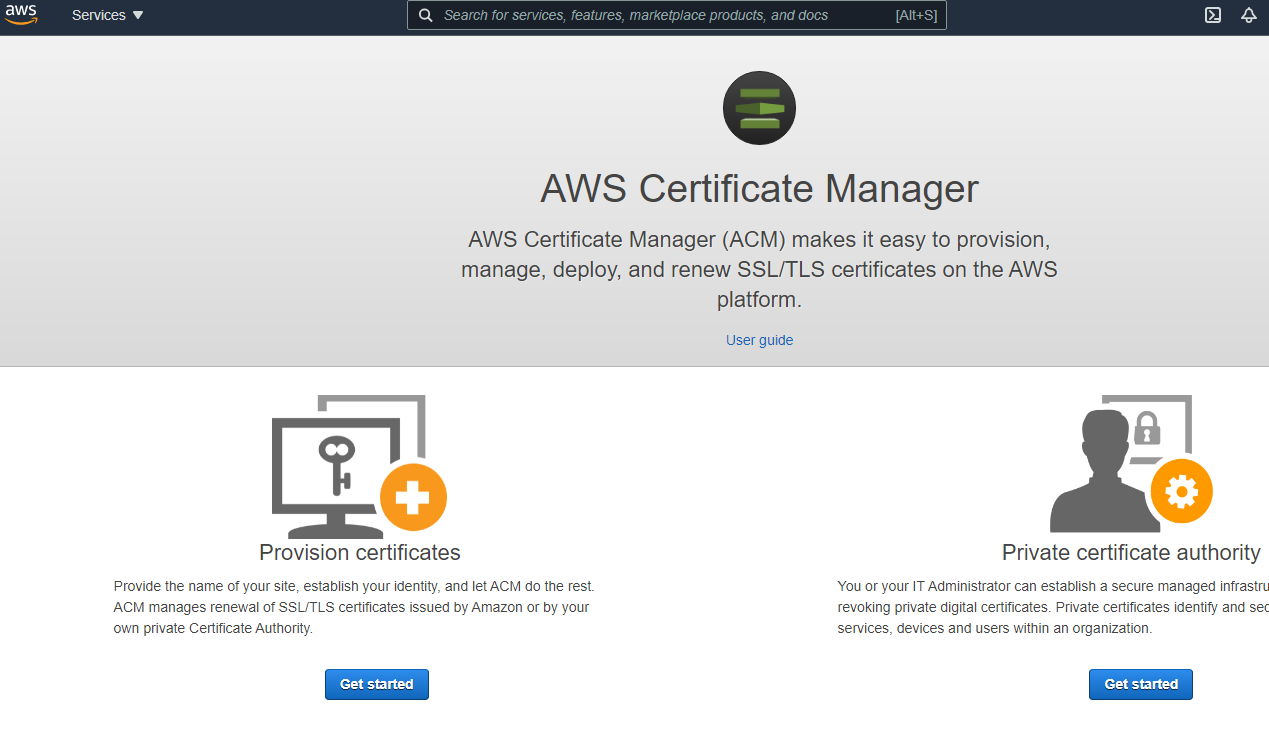
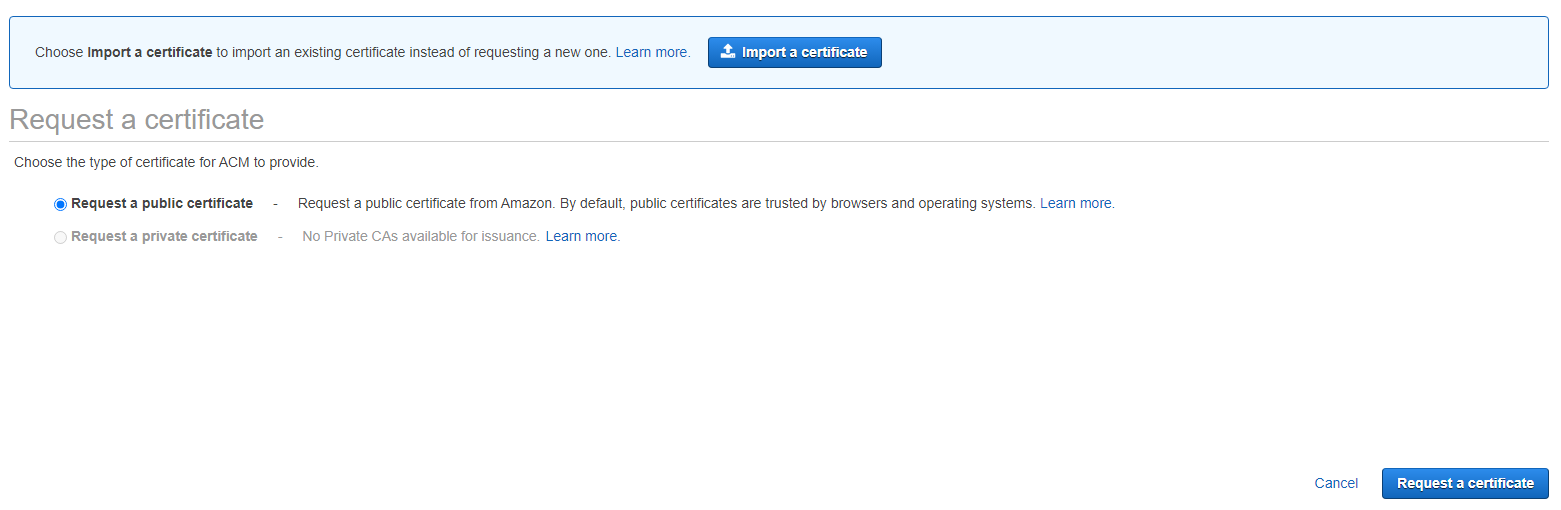
- Select request public certificate option.
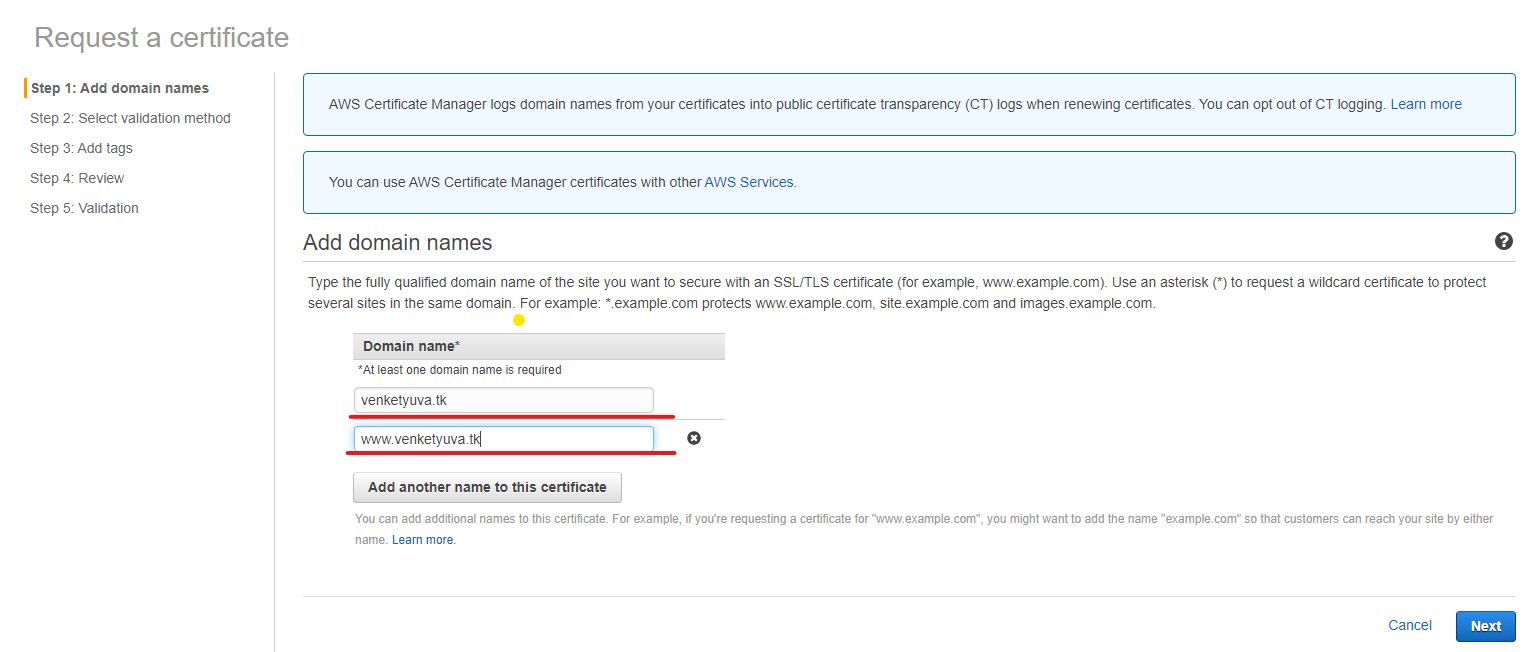
- Now AWS Asking the domain name. enter your domain name.
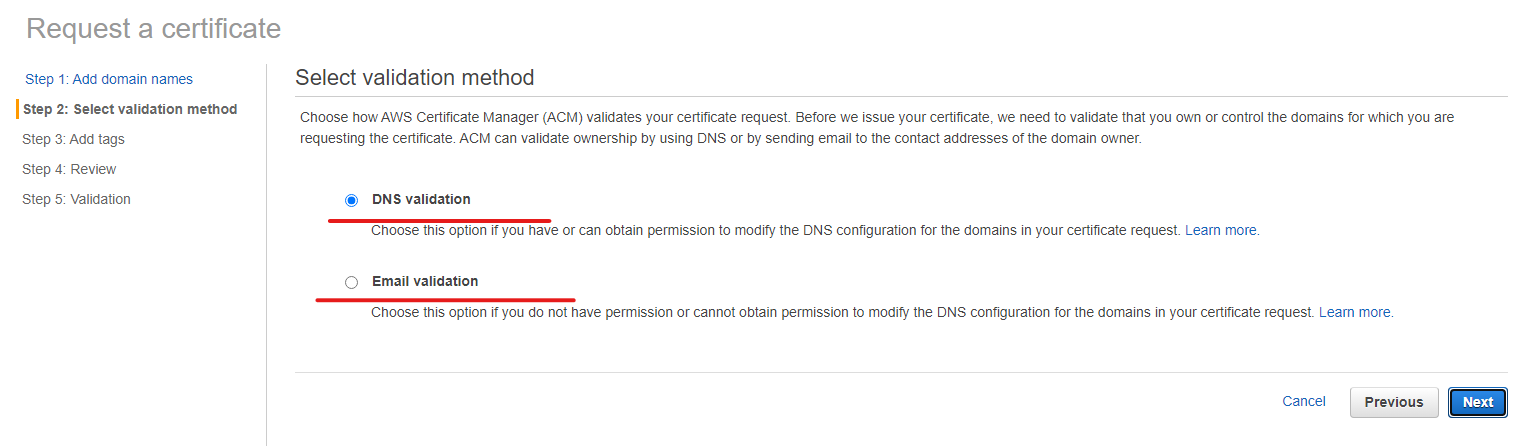
Now AWS ACM Validate our domain name to provide the certificate using two methods.
DNS validation
- In DNS Validation we want to create records to verify the domain belongs to us.
Email validation.
- In Email validation we want to send or receive the email to confirm the domain belongs to us.
Here i am using DNS Validation method.
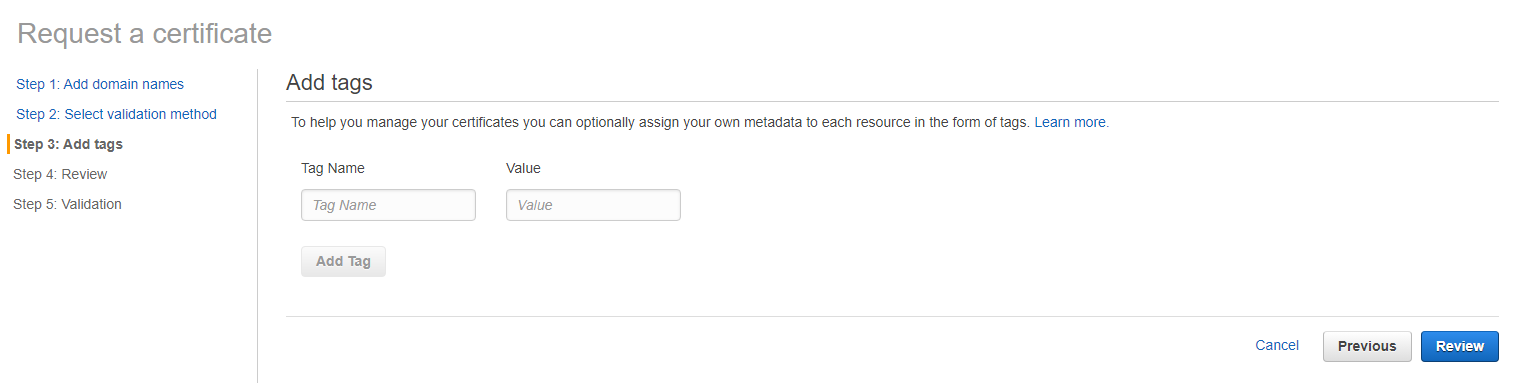
- Next we want add tag for this resource.
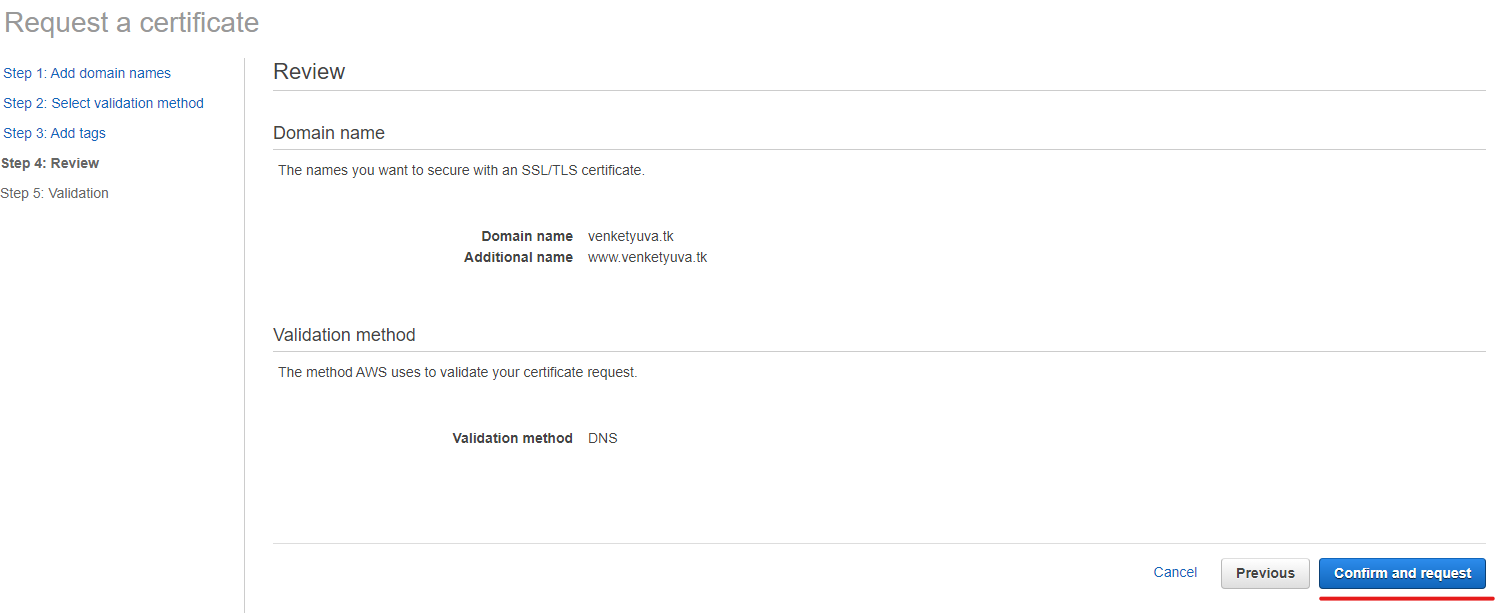
- Finally we review and confirm the certificate request.
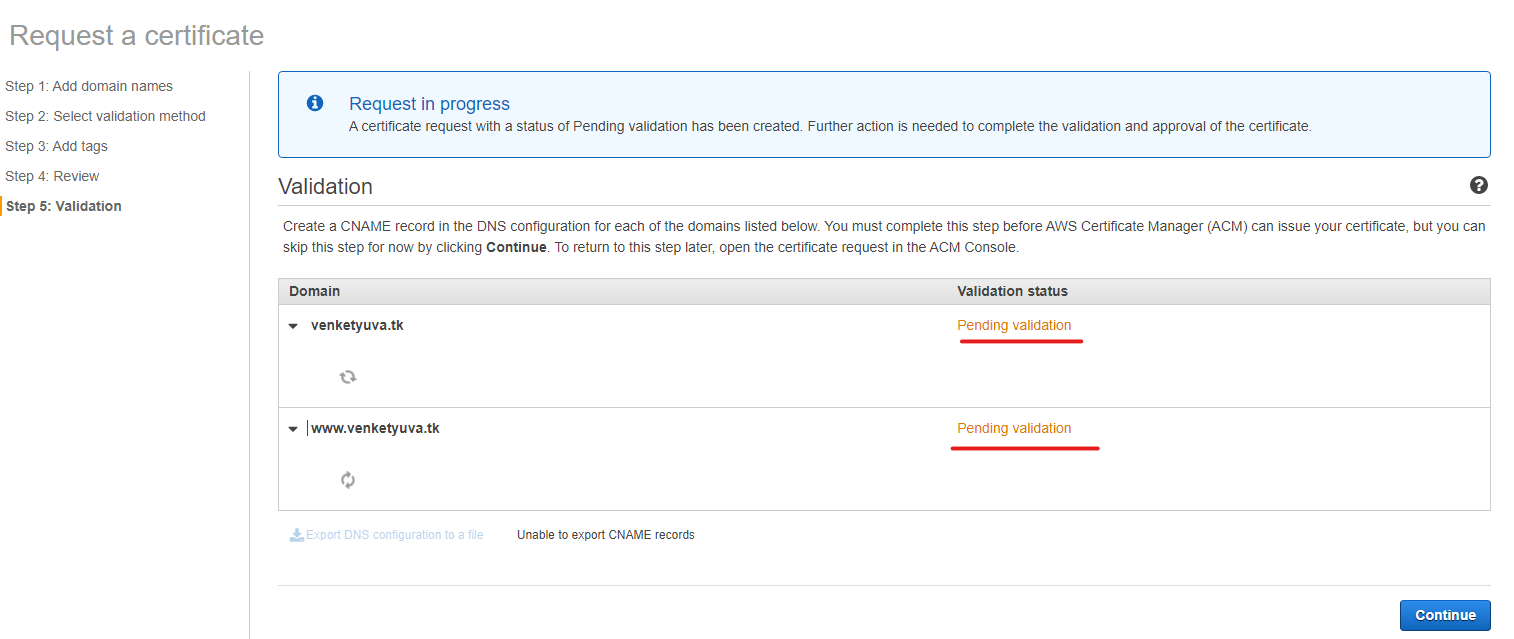
- Final step is validation ACM Validate our DNS Records.
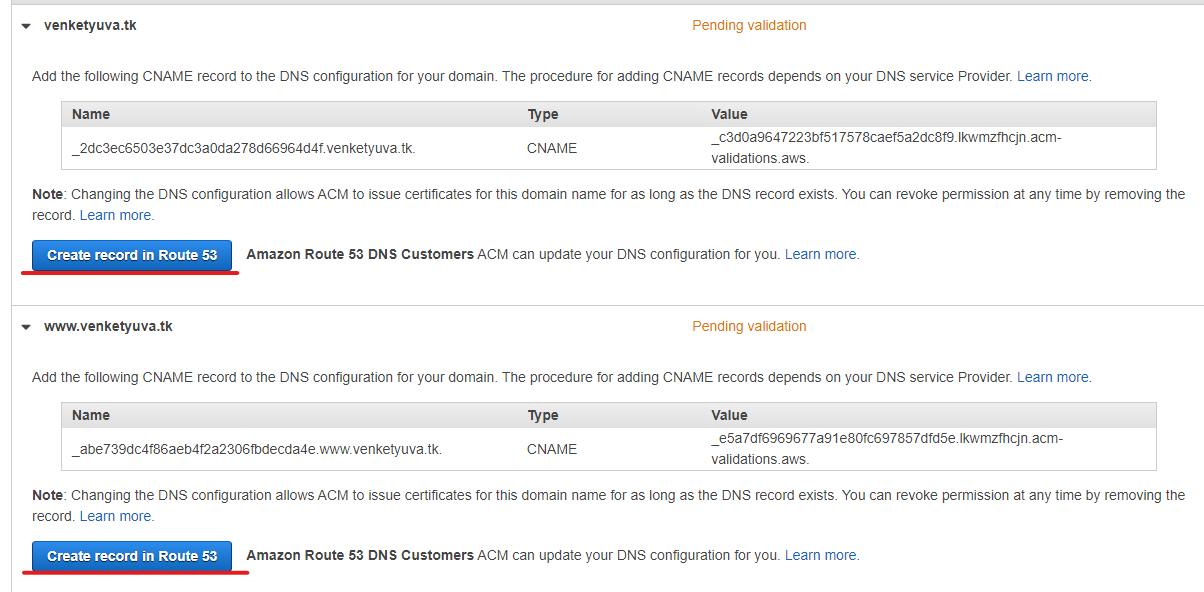
- Its shows the pending validation. Dropdown the arrow mark.
- While configure ACM for DNS Validation it shows the option create record in Route53.
- Route53 automatically create the essential record for you.


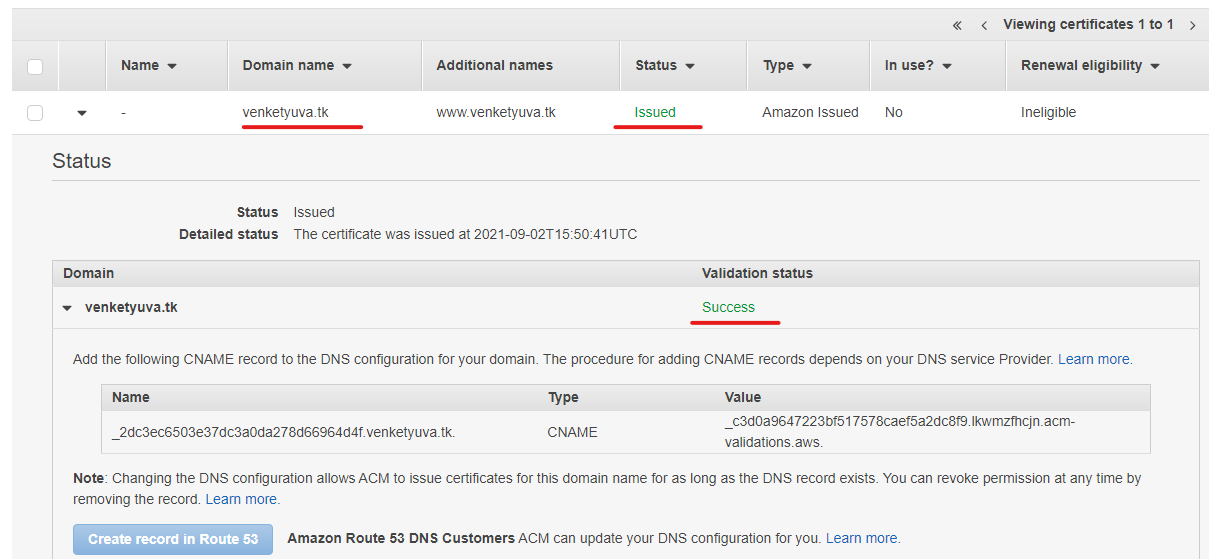
- Its successfully create the record for you.
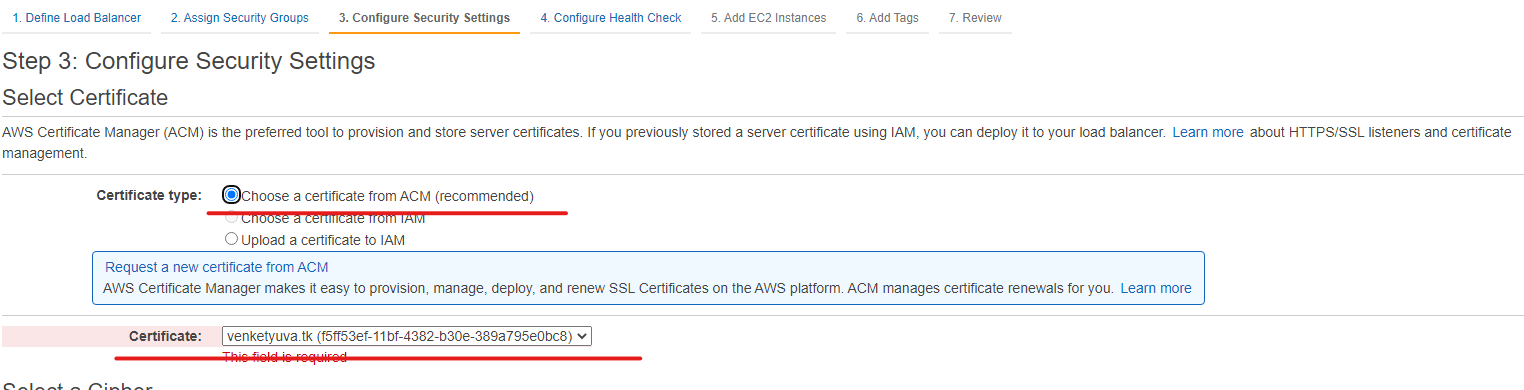
Create Loadbalncer and attach the SSL certificate which ACM provided to our domain.
- If you want to know much about how to configure classic load balancer check my previous article.
https://venket.hashnode.dev/configure-classic-load-balancer-in-aws
- In the middle of load balancer configuration in the configure security settings select choose a certificate From ACM and choose which certificate from which one you want to configure for your website.
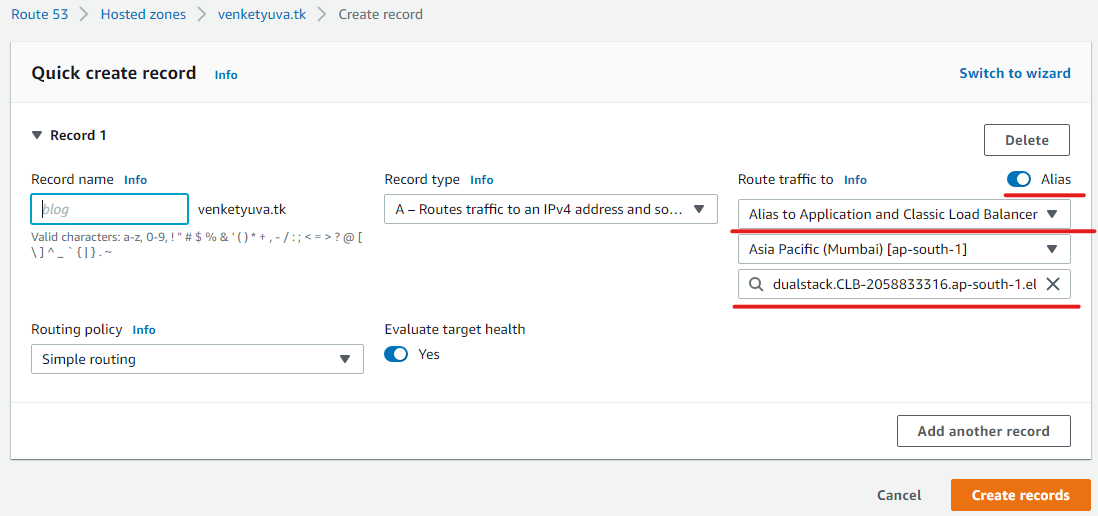
- After successfully configure your load balancer your certificate merged with your loadbalancer. so now we want to create the DNS A Record and map the load balancer name to it.
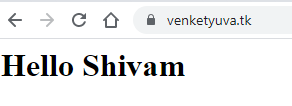
- Now our website is secured with SSL. See the website with lock symbol.
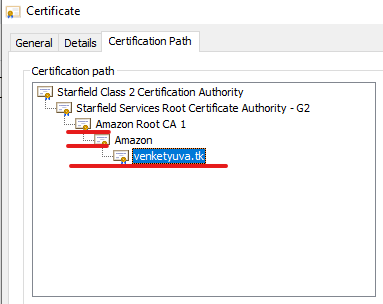
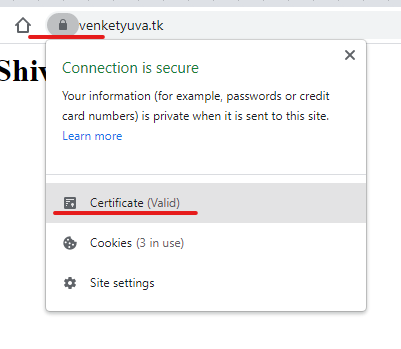
- In browser right click the lock symbol before the website name and again click the certificate link.
- This Certificate issued by AWS ACM service
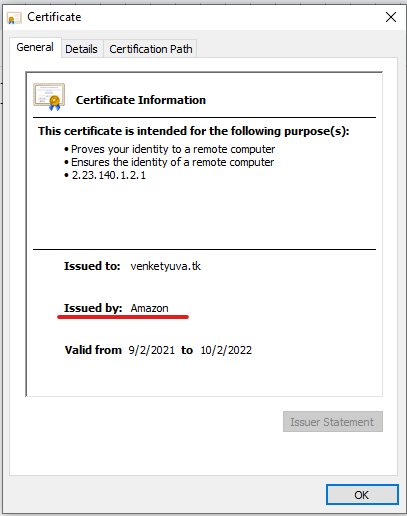
- This Certificate is provided by amazon