Prerequisite for Open Fire Server 4.0.3
- Domain controller
- Open Fire 4.0.3
- MySQL Server 5.7
Prepare Your Front End Server
1.Server must be part of domain
2.Install & Configure MYSQL Server
3.Create the Database for openfire in MYSQL
Installation part
- First Download Open fire from this link
for Install the Server application and start the installation.
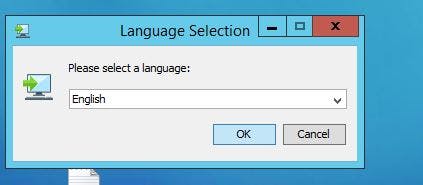
2.select the language from the drop down list.
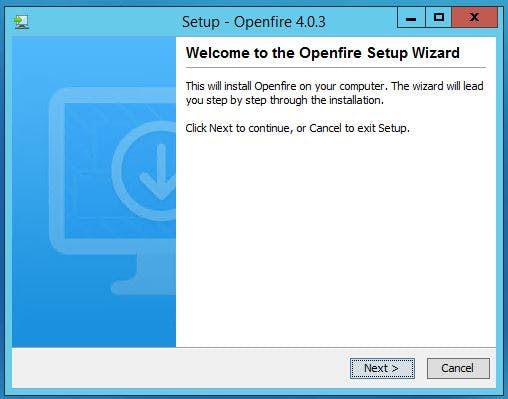
3.Click Next
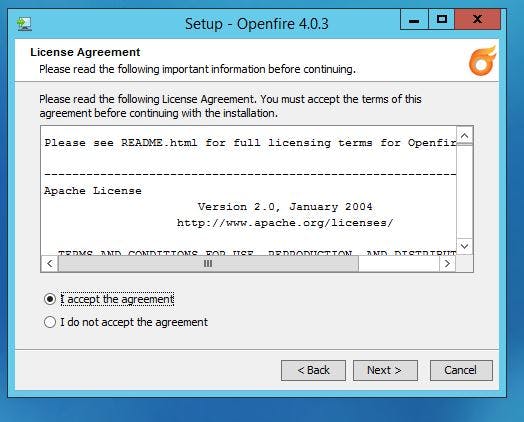
4.Accept the Agreement
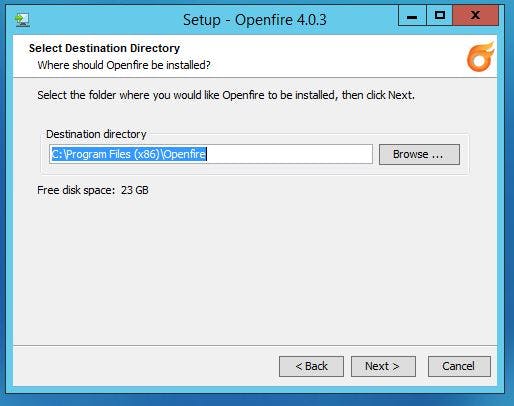
 5.Choose installation path
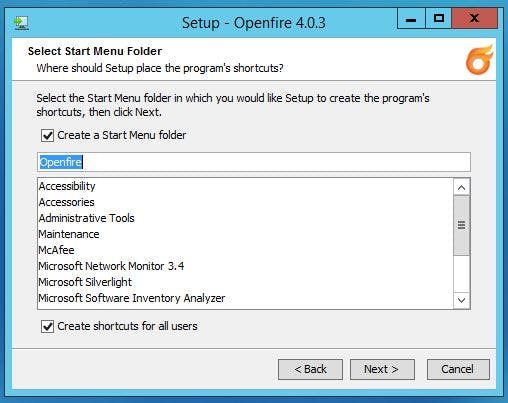 6.Finish
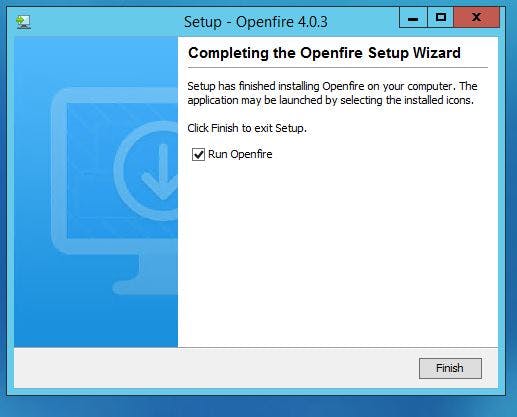 Configuration part
1.Run open fire as Administrator in this location c:\Program Files (x86)\Openfire\bin\openfire.exe
on this console click lunch admin, if you want to manage the server
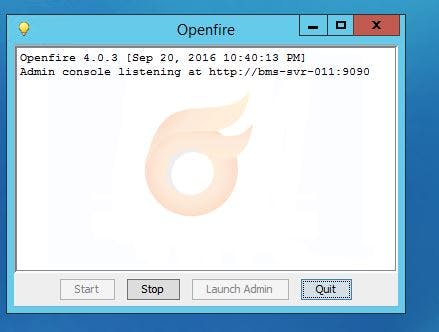
2.alternatively you can open this URL to manage the server
First set your language
3.on this windows we will configure authentication server type
Set your domain name
Default ports for Admin http:9090 https:9091
Provide the encryption key for the server
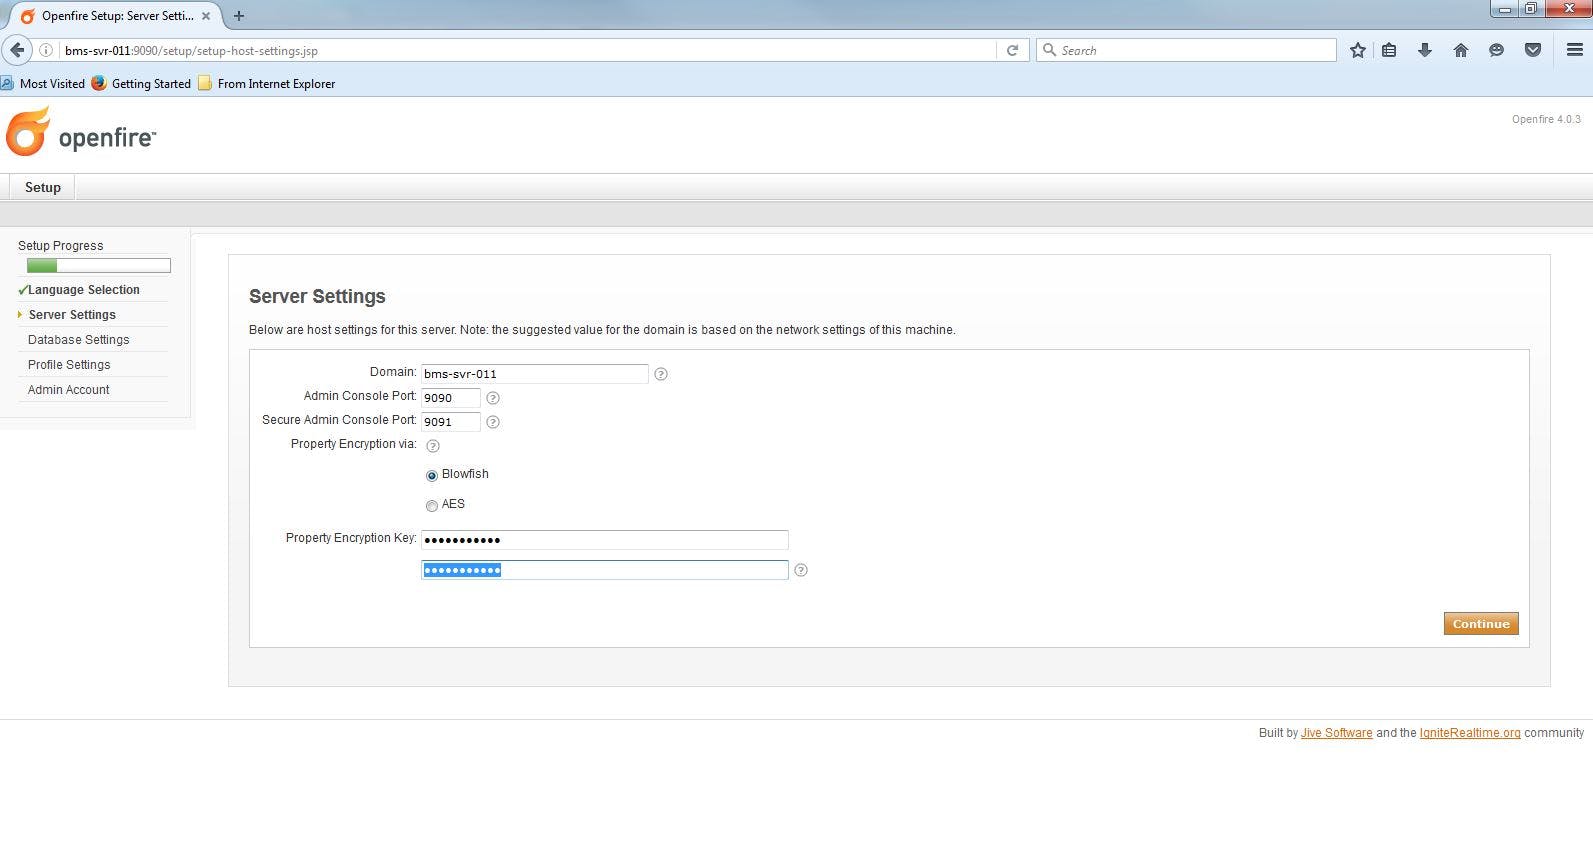
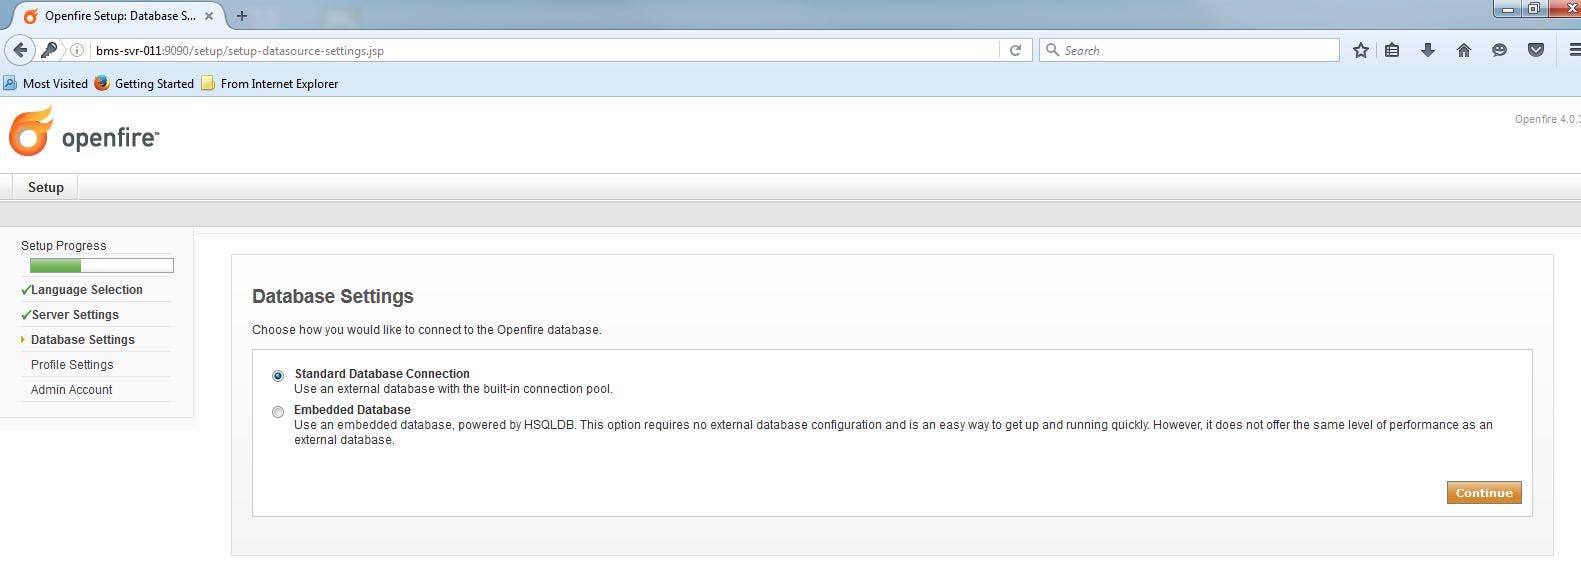
4.Here we are going to configure database connection for this server.Select Standard Database connection (We are already installed the MySQL server and database created )
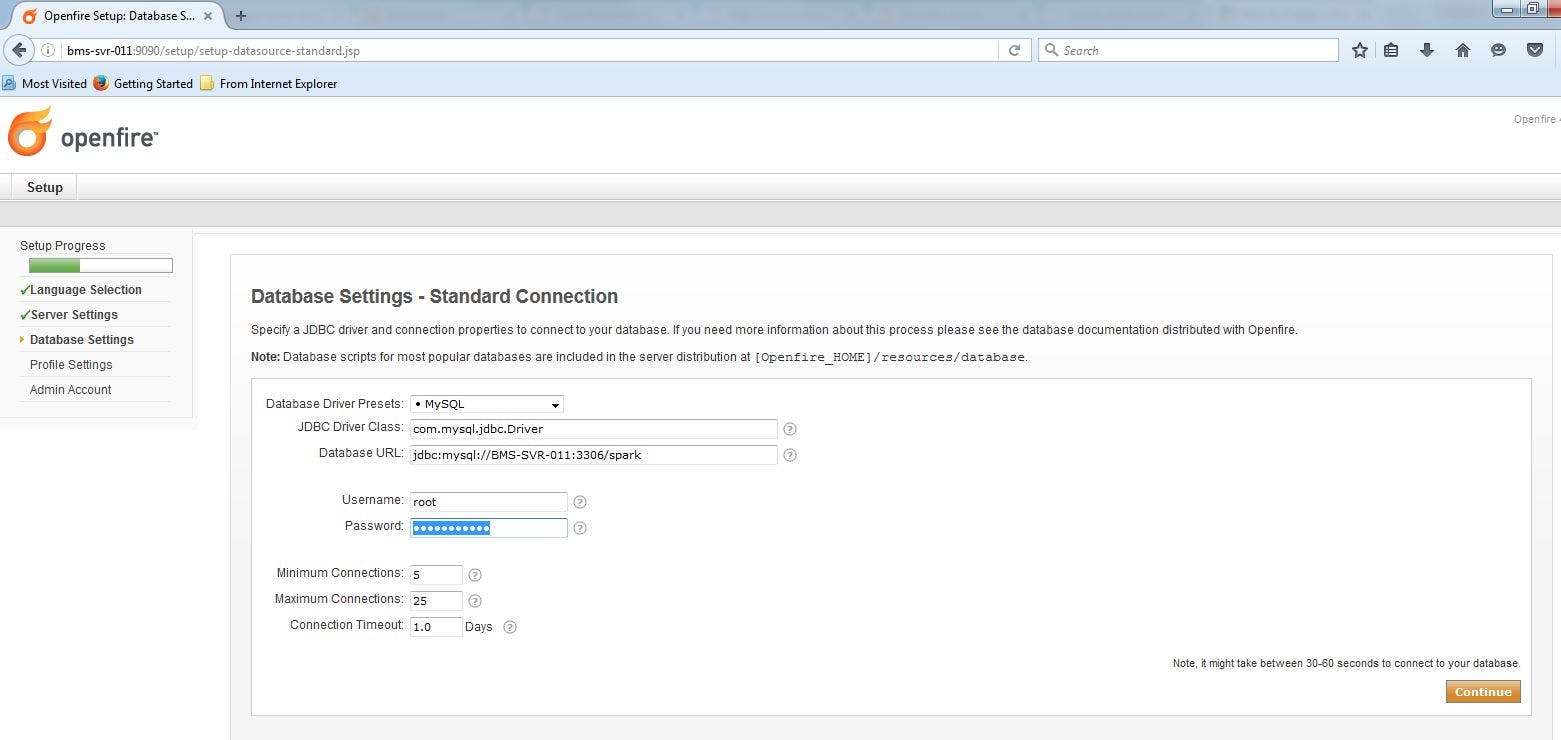
5.Here we are going to configure MySQL driver and its credentials.
- Select MYSQL in the dropdown box in database driver presets
- Set JDBC driver class as com.mysql.jdbc.driver
- Provide the Database URL : jdbc:mysql://LMS-SVR-011:3306/spark(After the jdbc:mysql set your server name and database name)
Provide the database username and password
click continue
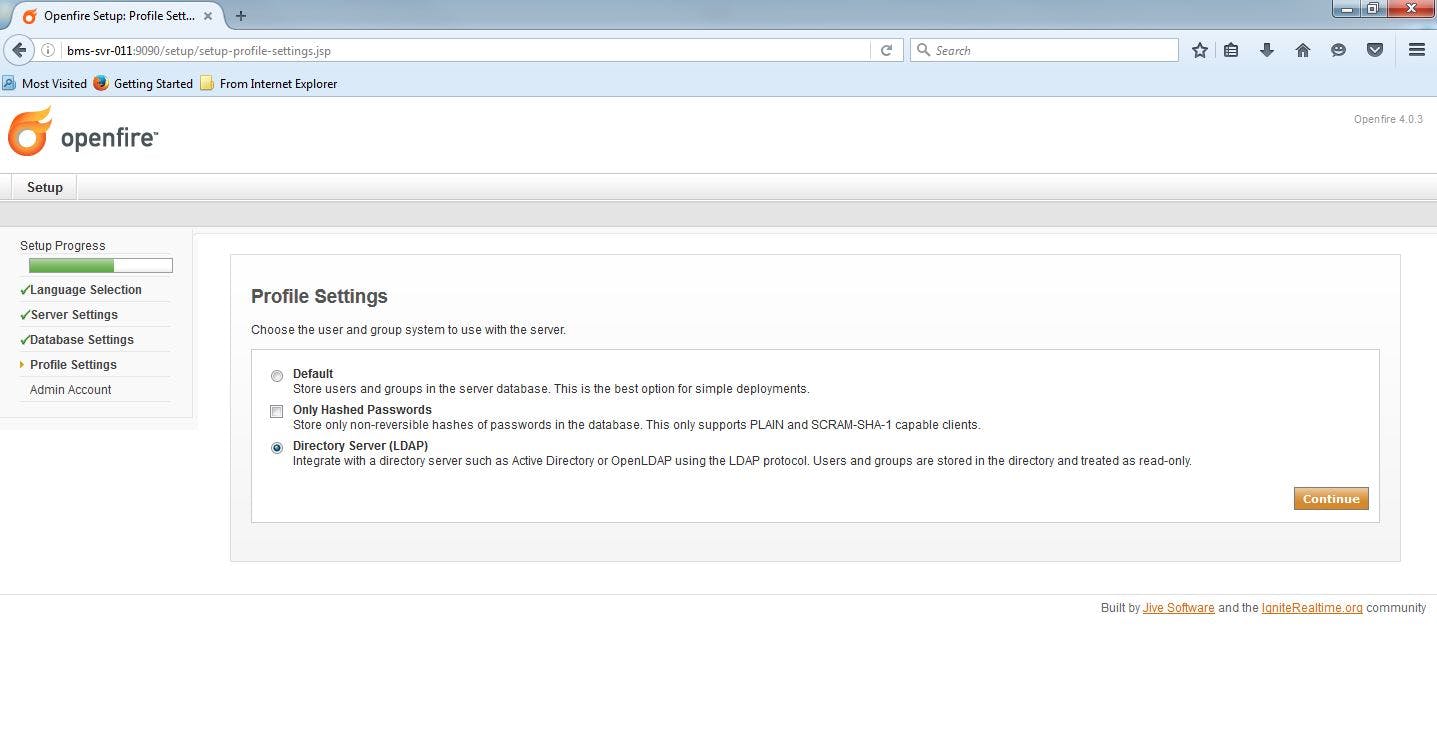
6.Select Directory server LDAP
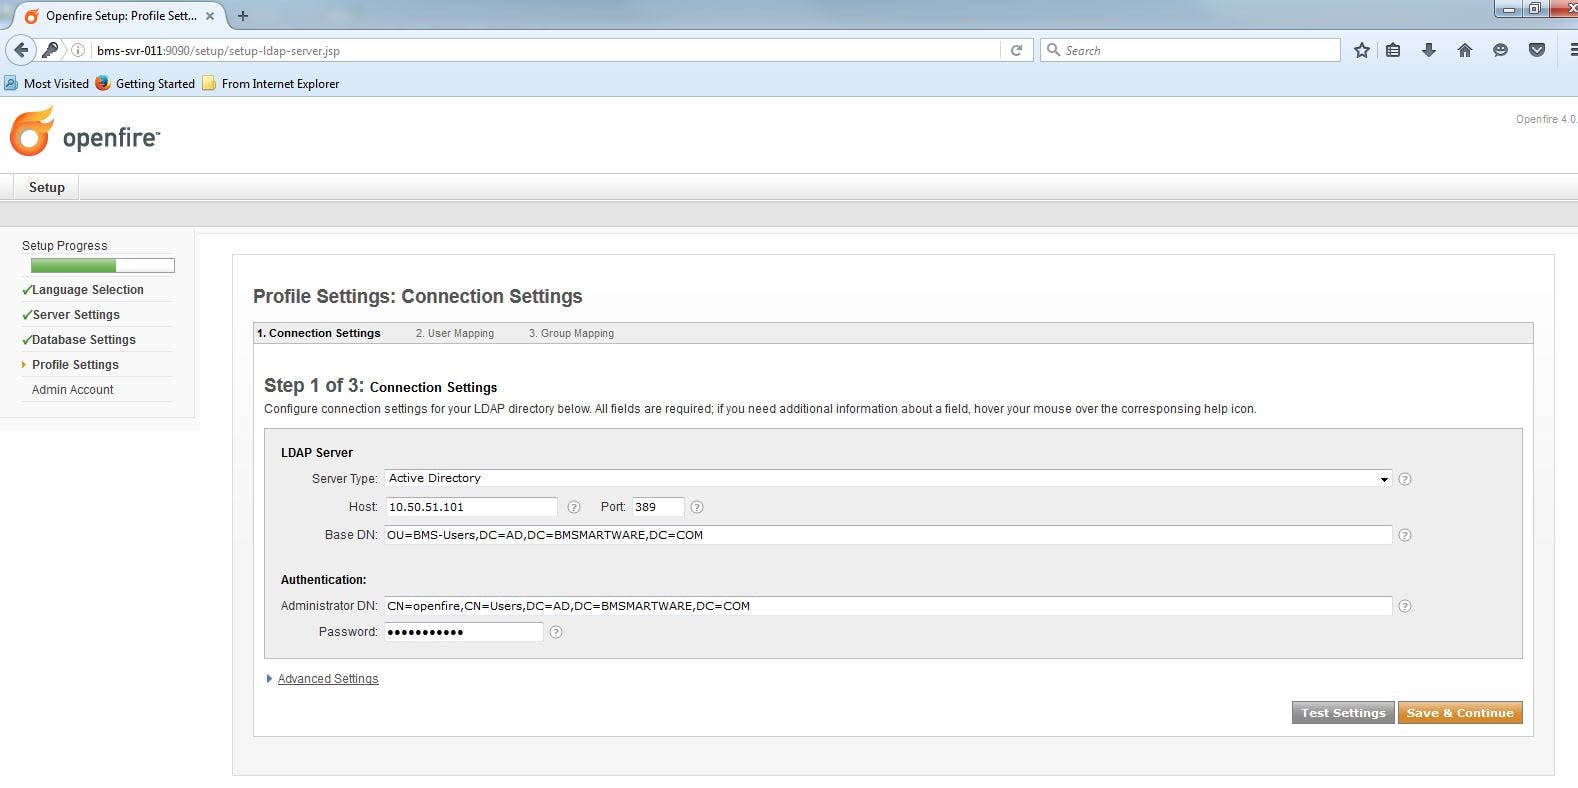
7.In this windows
Set the LDAP Server properties
Server type as Active directory
host name as Server ip 10.50.51.101
base DN as OU=LMS,DC=AD,DC=LMSMARTWARE,DC=COM
Set Authentication properties
- set administrator DN: CN=openfire,CN=Users,DC=AD,DC=LMSlight,DC=COM
provide the Admin password for ad integration and click Next
8.In the User mapping windows just Set sAMAccountName in username field Next
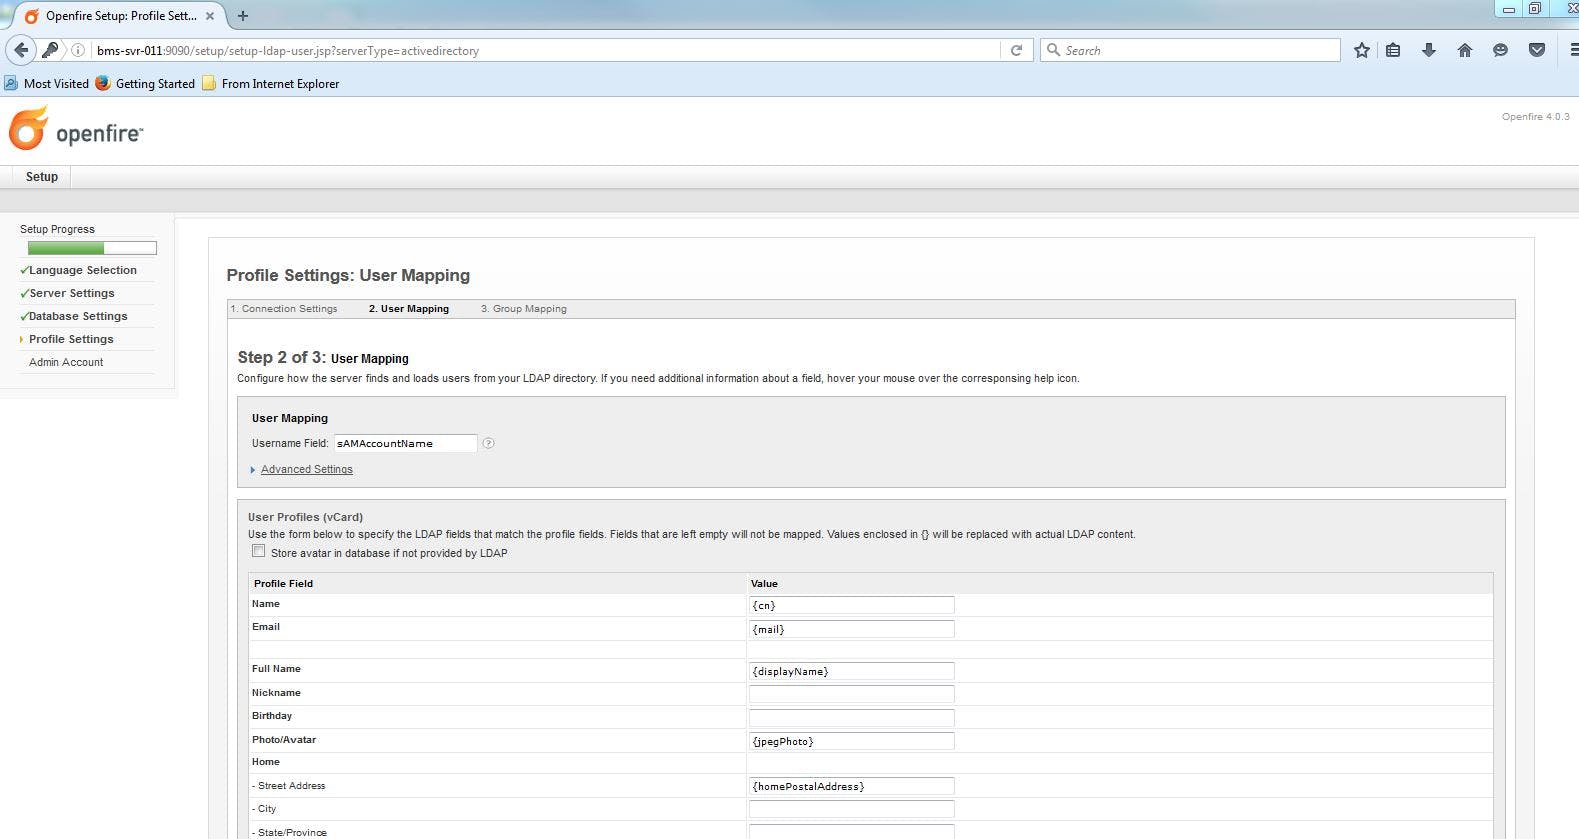
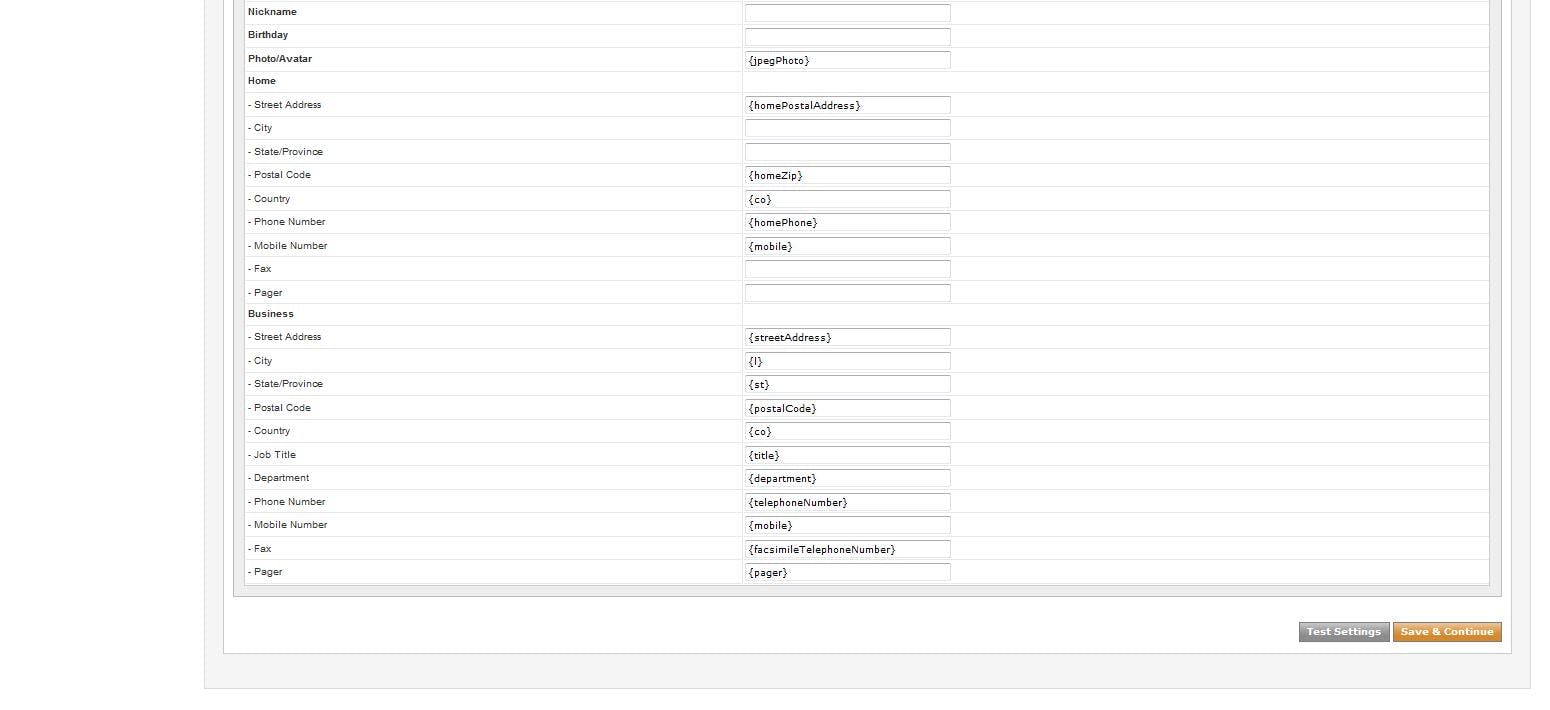
click Save and continue
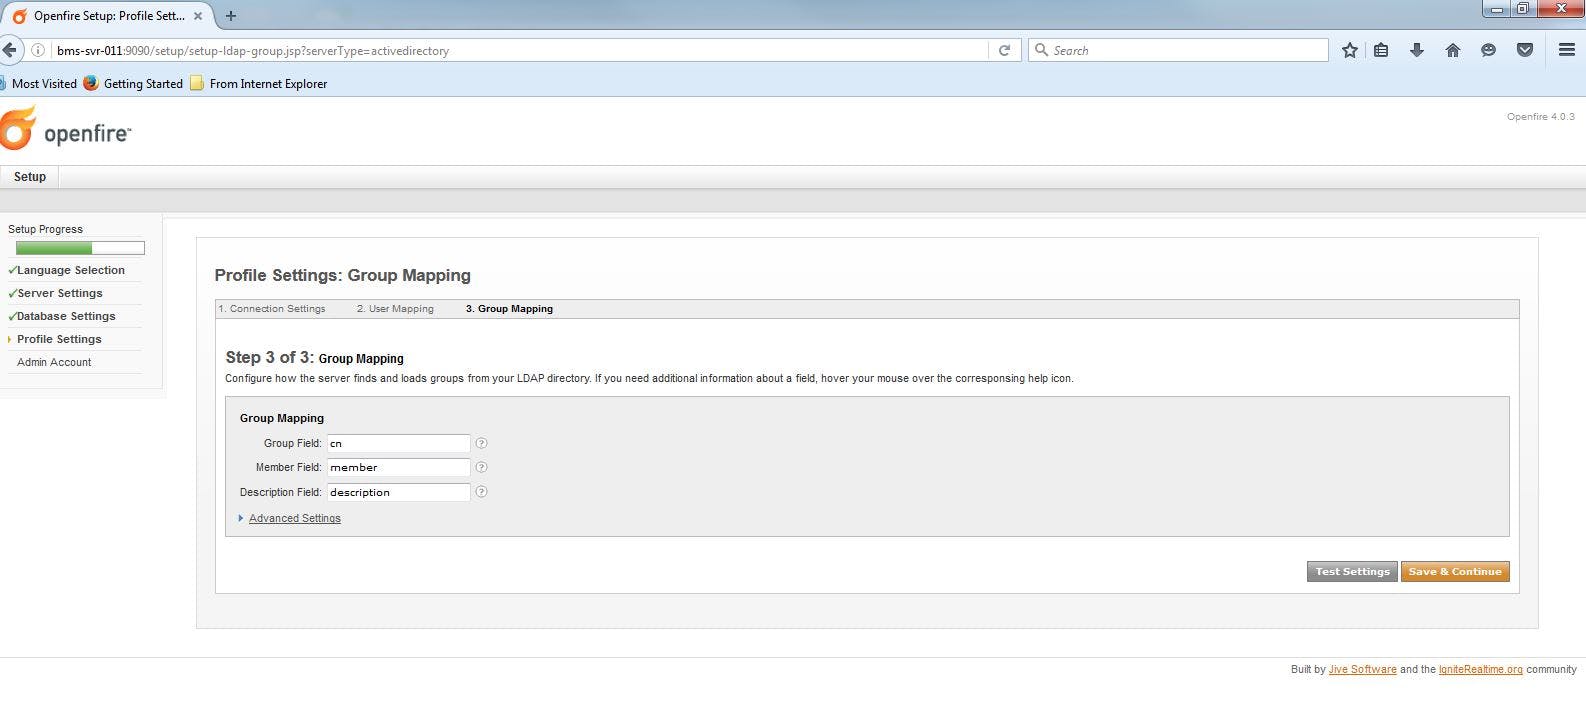
9.In the group mapping window Set the below inputs
group field : cn
member field :member
Description field :description
Click save and continue
10.The open fire configuration is completed.


